(This post may contain affiliate links (*). That means that I make a small commission from sales that result through these links, at no additional cost to you. You can read my full disclosure here.)

Materails
The materials that you will need to repair hollow core door holes are as follows:
- Utility knife or blade
- sandpaper or block (120 grit and fine)
- paper towels
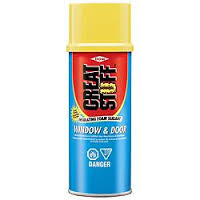
- can of Great Stuff Door & Window foam insulation*
- All Purpose Bondo filler*
- putty knife
- Paint for touch ups.
Now, let’s get to it. :-)
Details…
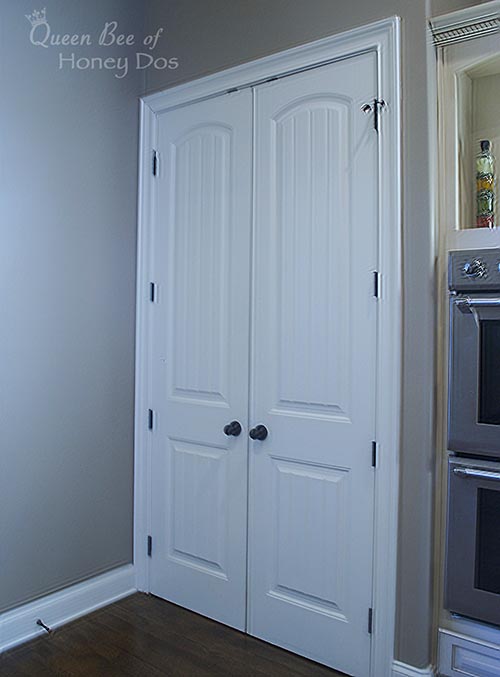


Why? Well, the part that connects with the door does so on the hollow part. If it connected with the solid frame on the edge of the door, there wouldn’t be an issue. Unfortunately, many of us learn this lesson after it is too late. But not to worry, we can fix those ugly holes very easily.
How to Repair Hollow Core Door Holes

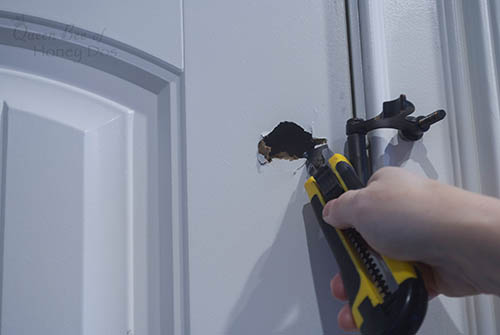
Step 1 – Remove any loose pieces from around the hole. Use your utility knife if needed.
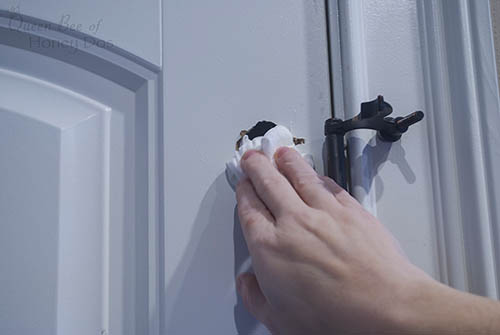
Step 2 – Stuff some paper towels down inside the hole. This will provide a ledge of sorts for the foam insulation to sit until it is dry. Otherwise, the foam would just fall to the bottom of the door.
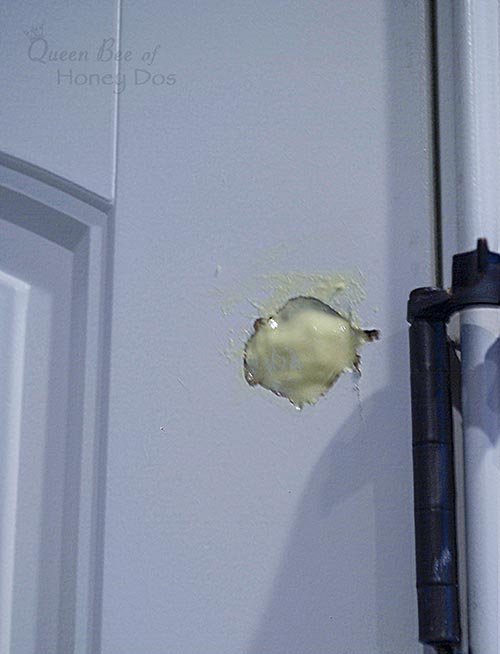
Step 3 – Fill the hole with the foam insulation,* making sure to fill completely on as sides of the hole. Allow this to dry overnight.
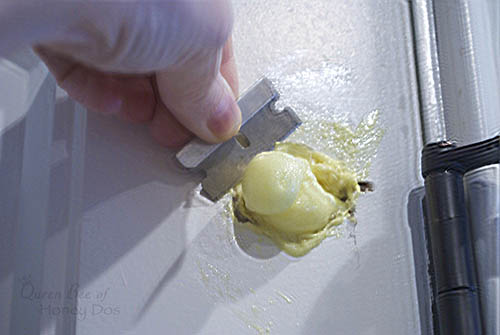
Step 4 – Using a blade or your utility knife, remove the excess dried foam.
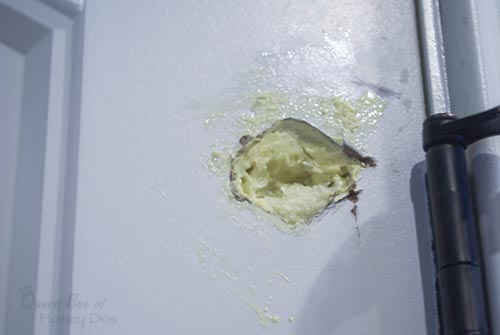
Step 5 – Carefully cut back the dried foam until a slight recessed area is left to allow space for the Bondo.
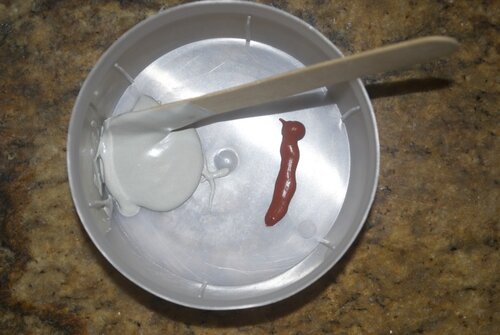
Step 6 – Mix the Bondo* using about a teaspoon amount of bondo with 2″ of hardener.

FYI: This is the Bondo* that I used. Just to let you know, this stuff has a pretty stronge smell. If you are working in a closed room, open a window to allow the smell to ventilate. If you are going to be working in an open area, you may want to weigh the benefits of using Bondo with the smell. If you don’t want to deal with the smell, I would suggest using spackle. However, in my experience the Bondo gives a stronger result.
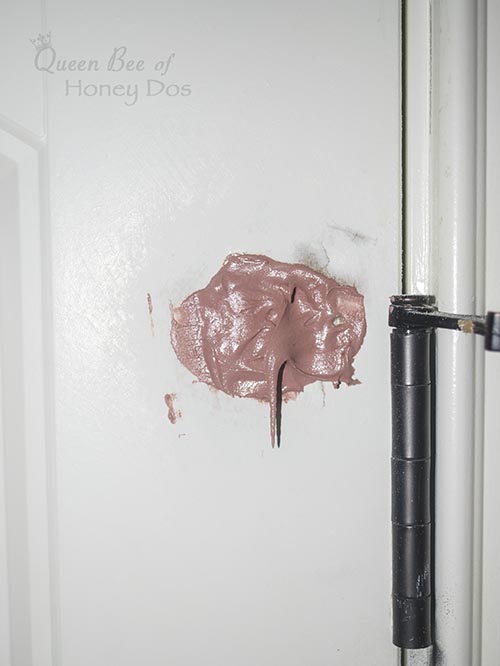
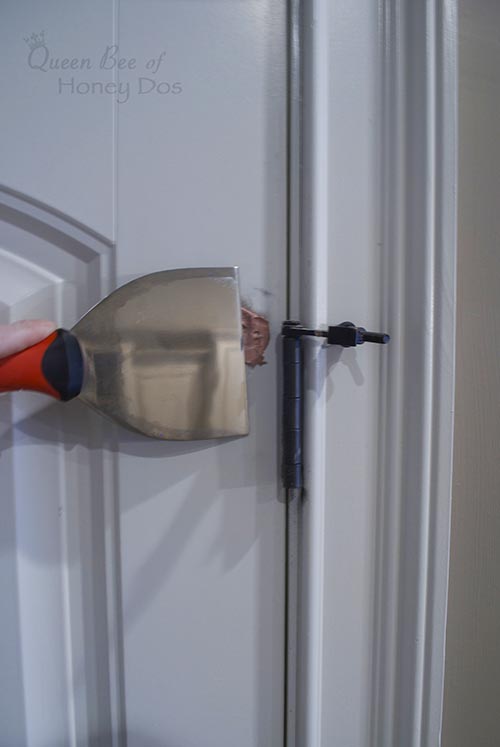
Step 8 – Wait a few minutes (until the bondo begins to thicken). Then, use the putty knife to scrap the excess bondo away.
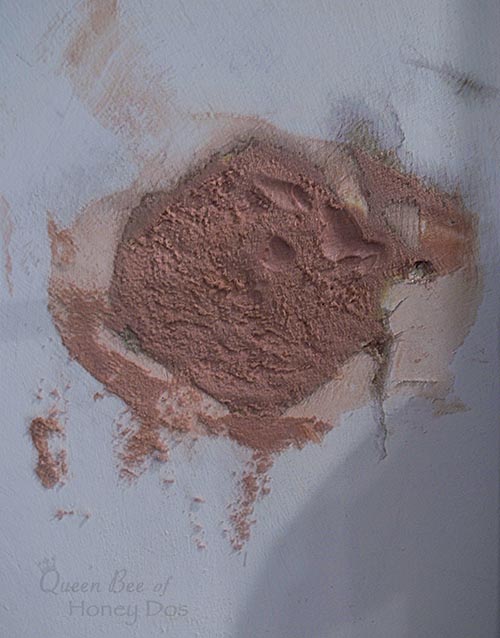
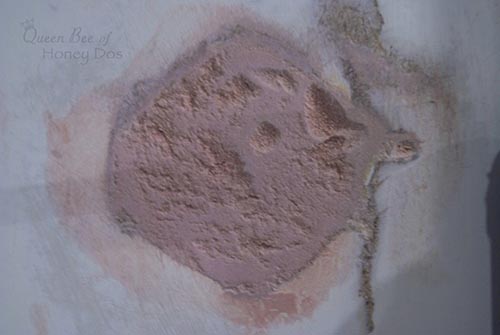
Step 9 – Sand the Bondo down as smooth as possible. Don’t worry about getting the pitted areas smooth, yet. Just make sure that it is all flush with the door.
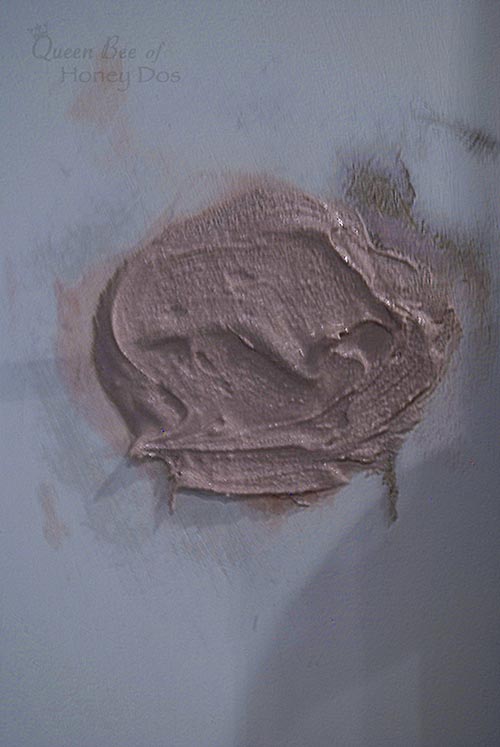
Step 10 – Mix a small amount of bondo and smooth it over the pitted areas. (Just like icing a cake). Allow this to dry completely. That should take a couple of hours.
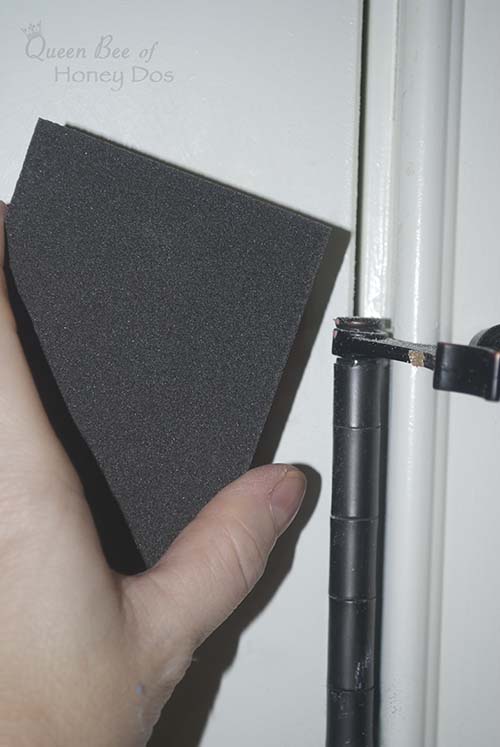
Step 11 – Sand (using the fine grit sanding block) until it is completely smooth and flush with the door. (Tip: The sanding blocks will help to get a better/flush result than the sandpaper will).
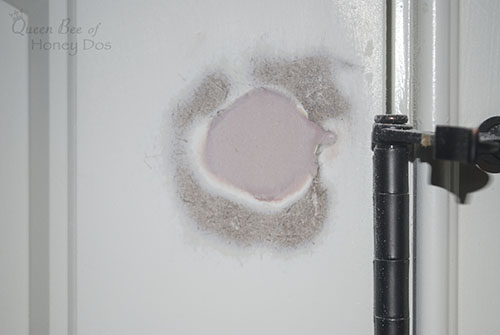
It should now look something like this.
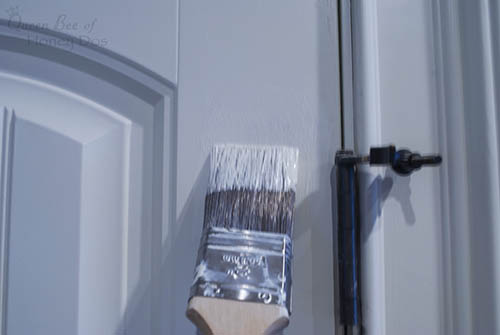
Step 11 – Touch up paint on door.
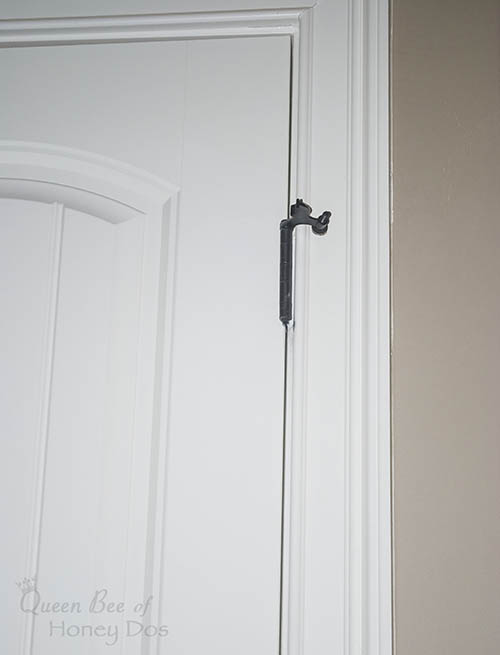
Yay! No more door hole!!!
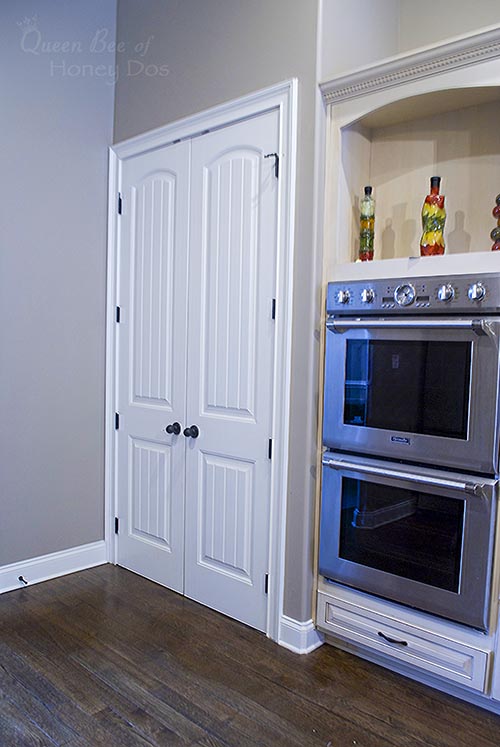
Final Thoughts…
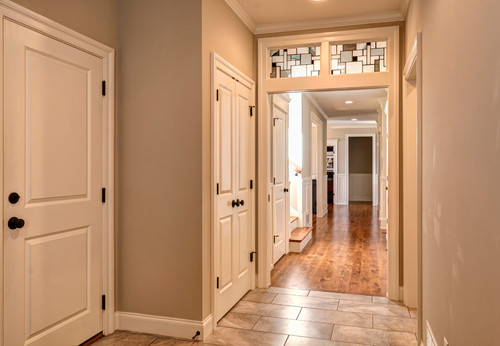
The best hinges for hollow core doors are still the base molding spring stops, (as seen on the door in this foreground) and not the hinge pin stops (as seen on the two doors in the background).
Now, if the hole in your door was caused by a hinge pin stop, replace it with a different type.
If the location of the door prevents another type being used, the best solution is to place additional hinge pin stops on the remaining hinges as well. That way the pressure can be distributed among all three or four hinges instead of focusing on just one spot. (Notice that the two doors in this image have hinge pin stops on both the top and bottom hinges).


Please keep it clean. Comments that do not follow the Comment's Policy may be removed.