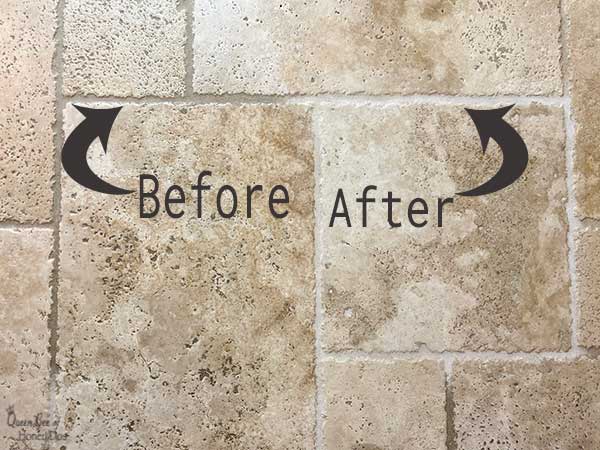
Over the years of renovating homes, I have come across a lot of iffy looking tile floors. Extremely dirty tile grout is generally the cause for making tiles appear past their life. But due to my obsession with having clean floors, I eventually found the solution to revive tile floors and make grout and tile look like new again.
(This post may contain affiliate links (*). That means that I make a small commission from sales that result through these links, at no additional cost to you. You can read my full disclosure here.)
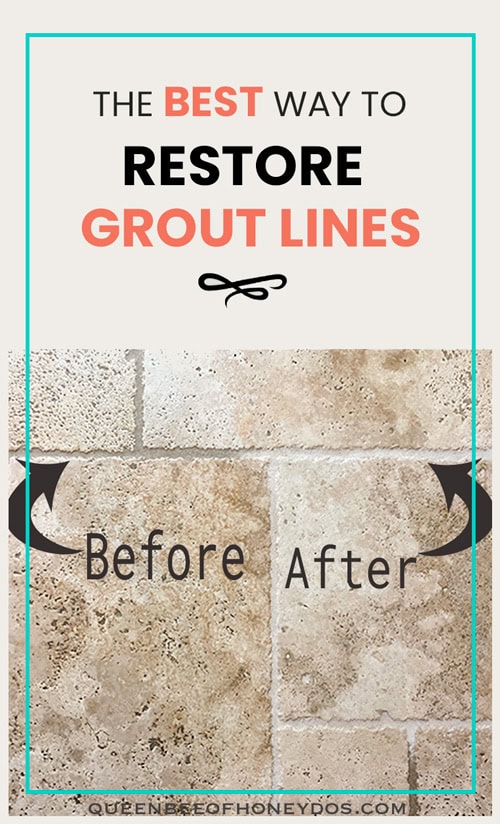
Prior to this discovery, I tried everything you can imagine to keep my tile grout clean. I have used bleach, vinegar, baking soda, Oxy clean, and so many others. I have even tried those paint on grout covers. Basically, if it is on the self, I have given it a go.
Most of these work quite well for everyday cleaning. However, there are downsides to almost all products and chemicals. Some work better on certain types of tiles. Others can do more harm than good.
Regardless, eventually, the grout will need something heavy-duty to recover that
As luck would have it, this is the perfect time because I have reached the point where I am ready to do a tile grout resurrection in my master bath. Buckle your seat belts folks, this is going to be a long one!
Just to refresh or inform you on my situation, I designed and had my home built back in 2013. So, my floors are only 6 years old. Most of my floors still look new.

They have to deal with moisture, wet feet, dirty clothes and towels tossed around, hair and makeup, and a lot of other daily activity that doesn’t occur in any other room. All that stuff adds up to create the perfect grungy tile storm.
Everyday Cleaning and Maintenance
You would think it would be a cut and dry case. Just pick a cleaner and start cleaning, and I so wish it were that easy. Infortunately, it isn’t. There are so many products, types of tiles, and pros and cons for each that I really could write an entire post on each individual type of tile.
However, that just isn’t something that anyone would want to riffle through to find a solution. You would be here all day trying to figure out the best method.
I finally came to the decision to divide this post into basic everyday cleaning for tiles and grouts verses a deeper, rejuvenating, type of cleaning. Both are important if you want to make your grout and tiles look like new and keep them that way. So hang with me for a bit.
First, Do This Not That:
Sweep – Keep in mind that grout is not something that you will wash every day. Even when you mop tile floors, the grout is largely neglected because it is recessed.
However, the first step in preventing grime build-up is to sweep away the collection of dust, dirt, and debris. Grout is not only very porous, but it also contains millions of crevices that catch and hold onto dirt. Removing the dry material before you add water really helps keep it clean.
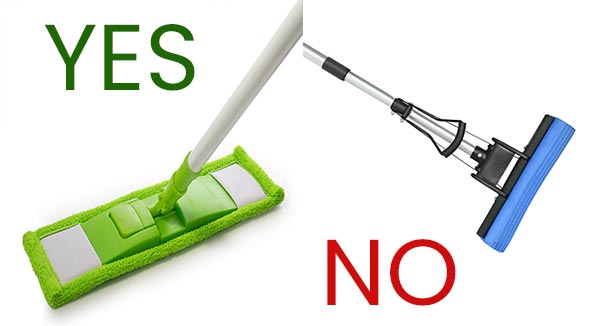
Avoid Sponge Mops – The problem with sponge mops is that they hold too much water. That water is then dumped into the recessed crevices of the grout as you push along the floor. It mingles with the dirt on the grout and creates a dingy liquid which can soak into your grout.
Damp Clean Tiles – A better method to get those tiles clean is to use a very damp but absorbent cloth mop. This can lift the dirt from the tiles without dropping the solution onto the grout. I prefer a good microfibre mop* for this job.
Avoid Spray Solutions – Unless you are planning to focus attention on properly cleaning the grout lines, it is best to avoid getting them wet. This includes those spray solutions.
Avoid spraying solution directly to the floor. It will have the same effect as the sponge mop. Instead, spray the solution to the bottom of the cloth mop.
Vinegar – While I love cleaning with vinegar on most surfaces, I avoid using it as a regular cleaning product on natural stones such as marble and travertine. It can etch them and cause them to look dull and pitted. You should also avoid using it over glossy surface sealants because it will dull this as well.
Bleach – On any grout, other than white, bleach will lighten the true color. It may seem like the best solution to getting difficult grout clean, but it can end with discoloration rather than clean grout.
Best Methods for Ceramic and Porcelain Tile Cleaning:
Daily Cleaning:
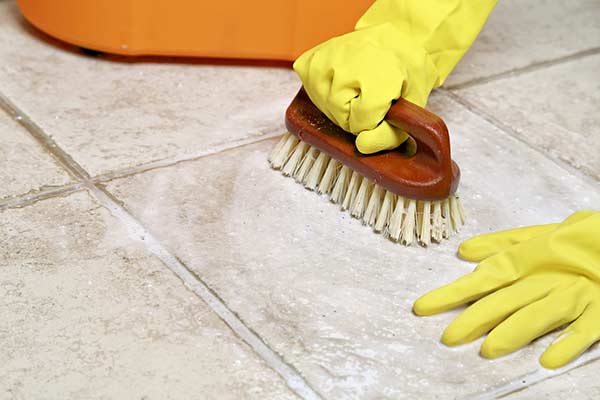
Because ceramic tiles are so versatile in what you can use for cleaning them. You can use just about any product for maintenance. For daily use, plain old water is always good. Dampen a microfibre cloth mop and give the tiles a quick cleaning.
Swiffer wet pads also make for quick daily cleaning. One thing to keep in mind though is that the pads are quite saturated with solution. It is best to wring out the excess prior to using them.
For quick up-keep in bathrooms, I keep a Swiffer mop* and a stash of Swiffer wet pads* in the boys’ bathroom’s linen closet. Then, do a quick swipe around the toilet areas every evening after they go to bed. This keeps the “bad aim ick” from getting out of control, and it only takes a few seconds of my time.
Weekly Cleaning:
Microfibre mops with a gentle cleaning solution also work well for weekly cleaning. Avoid using products not intended for tiles because they can leave a residue behind that will discolor the grout.
My go-to solution is Zep’s neutral ph floor cleaner.* It works on all kinds of tile and doesn’t leave streaks or residue behind when used as instructed. If you want something that can be used on a variety of floor surfaces, this is it.
Monthly Cleaning:
For monthly cleaning, a solution of vinegar and water can be used quite effectively on ceramic or porcelain tiles and grout. This is sort of a mild version of the deep cleaner that I use (explained below). However, vinegar is acidic and can wear down the grout overtime if the solution is too concentrated.
Best Cleaning Methods for Natural Stone Tiles
For the most part, I use the same exact products for my travertine as I do for my ceramic tiles. The one exception is for monthly cleanings. I never use vinegar on my travertine because monthly use of an acidic cleanser is too harsh for natural stones. It would cause dulling to the surface and wear away the sealant faster than I want.
I prefer to combine a baking soda scrub for the tile grout with my steam cleaner on the tiles. This combo brightens the grout and lifts the ground in dirt out of the tile crevices.
Make Grout and Tile Look Like New Again…
For those who prefer the video version, you can watch above to see my favorite product in action. Details are still included below. I recommend that you consume both to get as much information as possible.
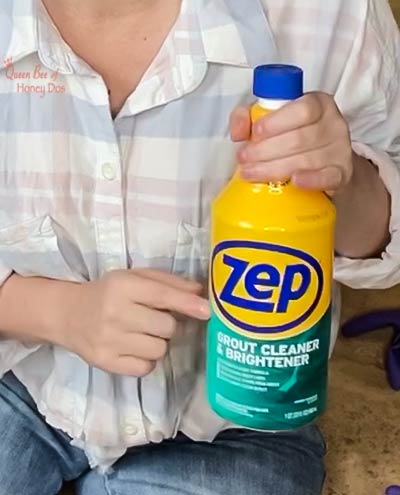
Luckily, you can produce the same results with this one fabulous product that I religiously use to make grout and tile look brand new.
That product is Zep’s Grout Cleaner and Brightener.* If you have not had the opportunity to try out this product, you are going to be pleasantly surprised. It is extremely fast and easy and produces amazing results. But first, there are a few VERY IMPORTANT things that you must be aware of before using this product.
- This is a STRONG cleanser and I do not recommend that you use it for regular cleaning. I use this once every 2-3 years on ceramic tile grout lines and every 3-5 years on my travertine. DO NOT USE THIS ON MARBLE!
- Do not set the container on any surface that could be damaged by it. It only takes a small dribble to create a permanent ring on a surface. When using it, make sure that you set in on top of a protective surface such as a cloth or a piece of contact paper.
- Make sure that you follow the safety instructions on the container and in this post.
- This will remove your sealant. Your tiles and grout will be reset to a like-new finish. Be prepared to reapply a new coating once you have finished with this process.
- TEST this on an inconspicuous area before going full-out with the cleaning. There is no way for me to know the condition of your tile and grout or to know if it was installed properly. That being said, it is best to do a test patch to make sure there are no hidden surprises.
- Although I do not find the scent to be unpleasant, some of you may. The scent is that of a clean, slightly acidic
odor that dissipates over the course of a day or two. - I do not
recommended you use this product if you suffer from asthma. I don’t find it to produce any more fumes than other common household products, but it does have a caution on the bottle about this. So, I am throwing this out there to make you aware.
Safety Items:
Before you jump right into making your tile grout look all bright and new, make sure that you have the following items on hand. I am including links to the specific items that I am using, but you can use whatever brand that you like as long as you make sure to have all of these available.
Safety goggles* – if you accidentally sling this into your eye it will hurt severely. I say this from experience, it burns like fire and will make your eyes red and itchy for several days. Just one tiny drop can cause eye damage. Please use eye protective wear.
Chemical resistant rubber gloves* – I have always just used my Playtex cleaning gloves for this. They work fabulously and provide a snug fit for my small hands. I don’t really care for those large industrial gloves that are available in your local hardware store, but they will work as well.
Long sleeve shirt, pants and shoes – I think it goes without saying that you do not want to get this on your skin. While it wouldn’t be nearly as bad as the eye thing (again, taken from experience), it does cause itching and redness. So, cover up!
Knee Pads – this is one of those jobs best done on your hands and knees. You will be so thankful if you have a good pair of knee pads. However, these are not required.
Cleaning Products You Will Need…
Zep Grout Cleaner and Brightener* – Every since I discovered this product it has been my go to for renovating tile floors and for keeping mine looking like new. All things considered, it is not very expensive. So giving it a try won’t be a budget breaker.
Bucket or Dish Pan and cloth or sponge – You will need fresh clean water to rinse with for this process. Use something that provides a decent amount of
Grout Scrub Brush* – There are so many available and everyone will have a preference. So, I am just linking to a variety. Choose one that serves the purpose of the job that you plan to do.
If you only want to clean the grout lines, then go for a narrow brush. If you want to scrub over travertine the way that I am doing in the demonstration, choose something a bit larger.
Making My Travertine Tile and Grout Look Like New
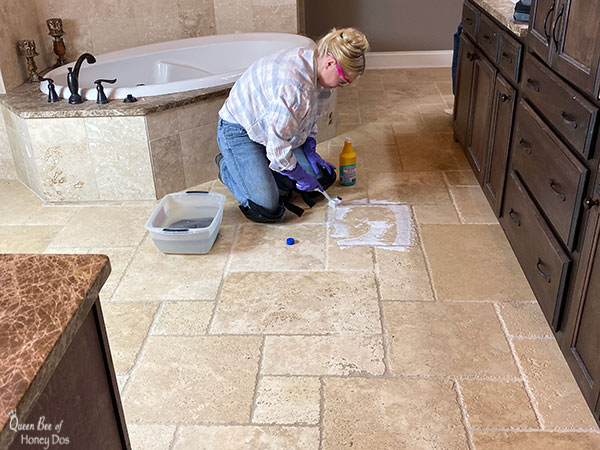
If you are confused about what type of travertine you have,
Step 1
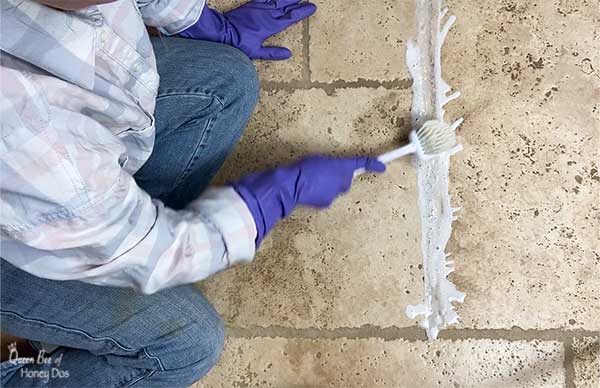
Don’t try to do large areas all at once. You won’t be able to clean as fast as this stuff works and you could cause damage to the grout and/or tile.
The instructions say to apply and let sit for 3 minutes. In my experience, that is not necessary and can actually cause damage to natural stone and to grout that has a high content of cement in it. I prefer to do no more than a 30 second soak before begin my scrub.
If I notice that there is still some grunginess left behind, I do a second round. This I find to be a less harsh with equal results.
Step 2
You will notice that the Zep creates a fizzing reaction. If you do not see that fizz it is likely because the chemical is not making contact with the grout. I have seen this happen when the grout has been subjected to grease and in bathrooms when the grout has a layer of urine over it.
Sorry. I know that is gross, but it is necessary information. If you do not see the fizz action, just wait and scrub anyway. This is an area that will likely require a second cleaning.
Step 3
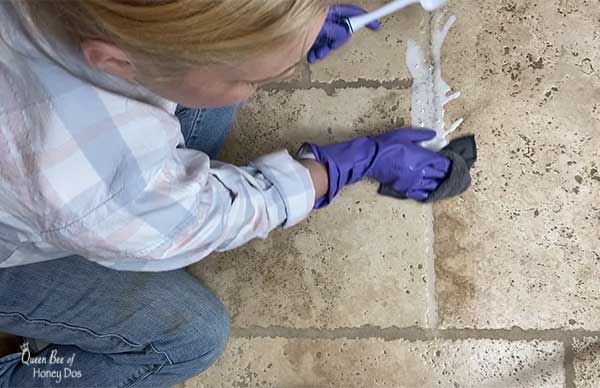
Step 4
Empty your bucket of water as needed to maintain a clean water supply. This is the most annoying part of the job. But it is also necessary.
Step 5
After you have finished the entire floor, you can use a microfibre mop for one last rinse cycle over the tiles. It is usually not necessary, but I like to do this just to make sure that I am not leaving anything behind on the tiles.
Step 6
Allow the floors to dry overnight and reapply your favorite sealer to the grout and/or tiles.
Final Comments…
I know that is a lot of information to take in, but hopefully, it will help you get your tile back to its like-new appearance. I understand the frustration (and obsession) with keep those grout lines prestine. So far, this is the best solution that I have found to make grout and tile look like a new install. Happy Cleaning!
lamascor says
my kitchen has porceline tile. my contractor mixes sealer in with the grout when laying the tile. will this cleaning method remove the sealer from the grout
Rachel Lynn says
It won’t take it out of the deeper layers. That being said, it will effect the surface of the grout and require a fresh sealant to protect the newly cleaned (exposed) grout. I find it is best to reapply sealant each time I do a deep clean.
Sarah says
Nice DIY Rachel! I’m going to have to give this a try, those before and after pictures speak for themselves!! I normally just get my tile and grout professionally cleaned and they do the job done well. Can’t wait to see more tips and tricks!
Rachel Lynn says
Thanks. I’ve been doing this for years, and so far, it has not failed me.
Ruby says
Can you please tell me what kind of sealer do you use? I have same tumbled travertine in my kitchen and I want to try this process to see if it works.
Rachel Lynn says
Hi Ruby, I use 511 Seal and Enhance which you can get here. This is a gloss “surface” sealant and you need to make sure to wipe away the excess with each coat. But, I like it because it protects well but also removes very well when I want to strip it down with this cleaning process. If you want something that soaks into the surface and doesn’t shine, use their Impregnating Sealer.
Ruby says
Thanks a lot!
Sarah says
Thanks for these tips! I always get nervous to try DIY solutions on the travertine floors in my home because I used non-diluted vinegar on it once (oops)! After that experience with the vinegar, I resorted to scheduling an appointment with a tile and stone cleanertwice a year. But, I definitely trust your blog and advice, so I might try the DIY route again!
Rachel Lynn says
Yes, vinegar will etch any soft stone. Keep in mind that this method will lift any sealant, too. It is not a gentle cleaning by any means. But, if you follow the process and plan to reseal, you will be impressed by the results. If you get nervous, try it out in an inconspicuous area first.
Kristen says
Rachel! So glad I found you! I’m going to try this in my shower!
How do I get the mold that grows under the clear silicone (I believe that’s what it is) seal that frames the shower door?
Thank you!
Rachel Lynn says
If it is under the silicone, the best way is to remove the old silicone, clean it up, then apply new silicone. However, before trying that, first try spraying some “Zep Mold and Mildew Stain Remover” along the line. Let it set for 15 minutes and rinse. That stuff will kill and remove mold better than just about anything that I have tried.