About eight years ago, I built my first ladder shelf. For 3 years, it lived in my master bathroom and served as some much needed storage space. Then five years ago, we moved into our new home, and my ladder shelf was exiled to the attic. There it sat, still in its deconstructed state, just waiting for the day that I would get around to giving it a much needed makeover. So, that’s just what I decided to do – a ladder shelf makeover.
(This post may contain affiliate links (*). That means that I make a small commission from sales that result through these links, at no additional cost to you. You can read my full disclosure here.)
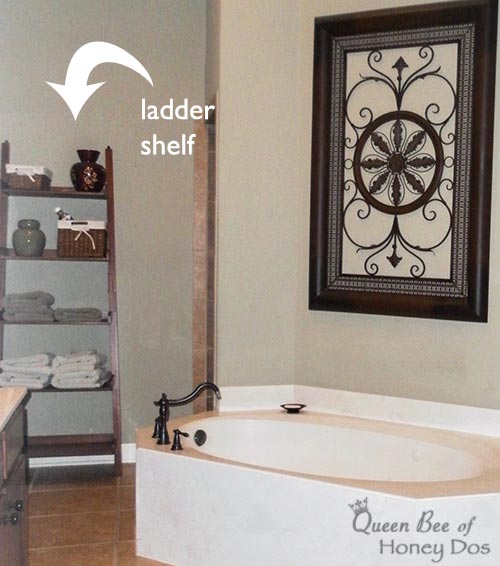
Ladder shelf before – tucked away in my old master bathroom.
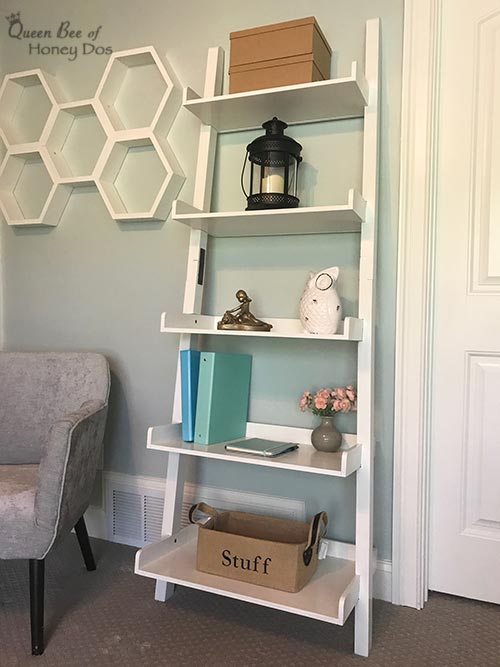
After
Ladder Shelf Makeover…
Since I have recently been in the process of turning one of our bedrooms into an office/studio, I have naturally been thinking of ways to create more workspace and storage. Well, I threw together a very budget friendly, rustic desk. Now, I just needed to get together some shelving. So, into the attic I went rummaging!
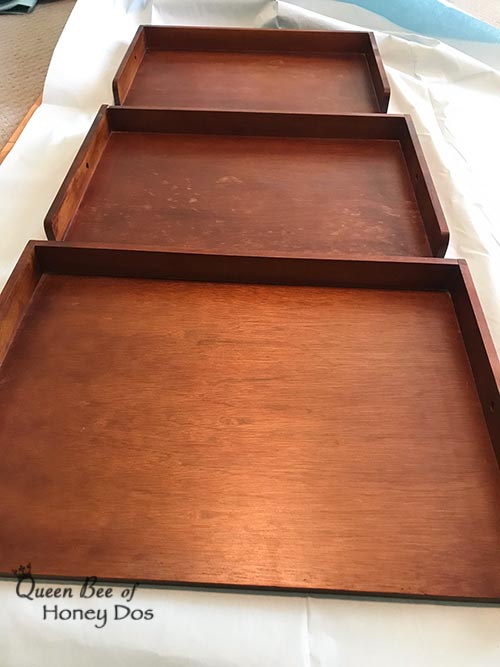
As you can see, the ladder shelf is in pieces and some shelves are showing definite signs of wear and tear. There are some worn spots and scuff marks, probably from wicker baskets being pushed and pulled across the shelves. But, it is nothing that can’t be corrected with a little bit of time and attention.
I knew right away, that I wanted my ladder shelf makeover to end with a nice crisp white finish. As you can imagine, the first thing that I needed to do was to remove the old finish. Back when this piece was originally built, it received two coats of stain followed by two coats of hand rubbed lacquer. So, it didn’t have anything too complicated.
Ladder Shelf Makeover – Prepping…
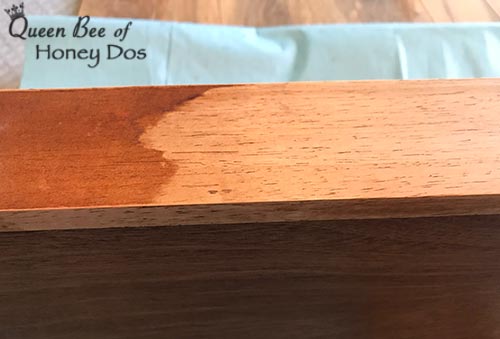
Now usually, before I start stripping down a piece with a chemical stripper, I like to do a spot test to see what type of finish was used. This can sometimes make life easier on you, because you may find that something other than a strong stripper will work. And if you have ever stripped a piece of furniture down, you know that it can be time consuming and incredibly messy.
With this piece, I thought that I would go ahead and test a spot with acetone. (Acetone dissolves lacquer). And just as I thought, the old finish just washed away almost as easily as washing a dish. I simply used a 3M green scrub pad and some rags. In the image above, you can see where I scrubbed away a section of the old finish. That spot literally took all of two seconds to remove. So, I did not use the standard stripping method of applying stripper, waiting for it to dissolve, and then scrapping away the finish. This was so much easier.
Ladder Shelf Makeover – Finishing…
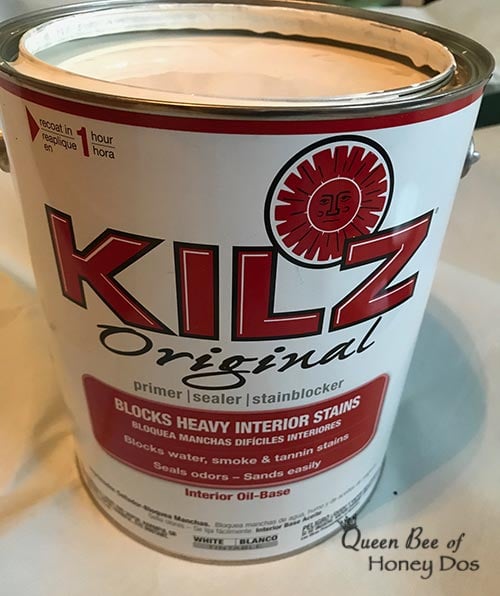
Once I had all the pieces stripped, I then began to primer everything. I use Kilz Original for most of my projects, because it covers stains and provides a nice bonding surface. So, if you are refinishing a piece and you happen to miss a spot or two, this primer will most likely forgive you.
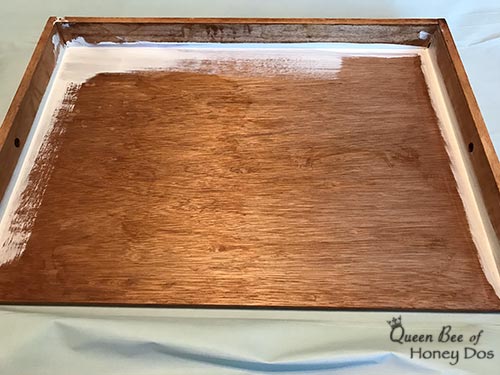
On furniture pieces, I always cut into the corners and crevices first. That way, I do not mess up my smooth brush strokes by trying to go back and catch those nooks and crannies later.
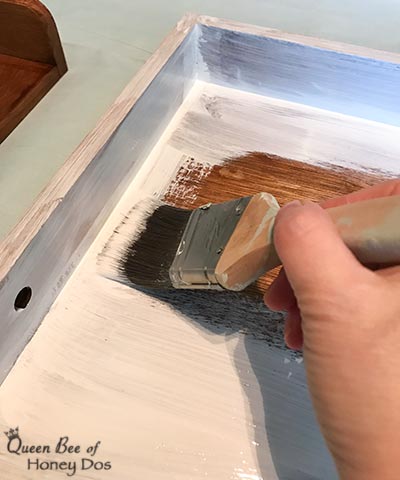
Once the crevices and corners are tackled, I then moved from interior edge to interior edge with my brush. I move in the direction of the grain and toward the center. Don’t expect anything special at this point, it’s just primer.
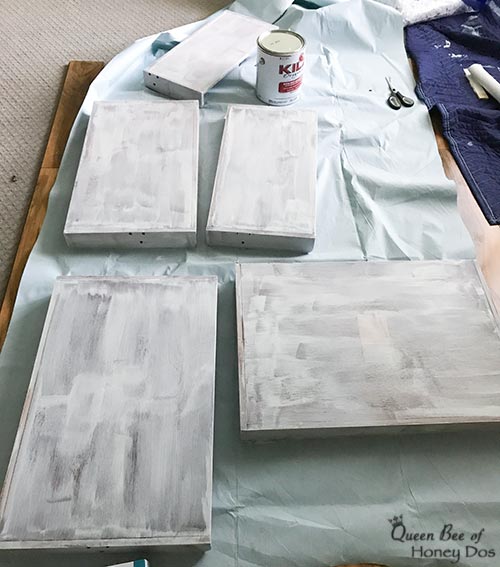

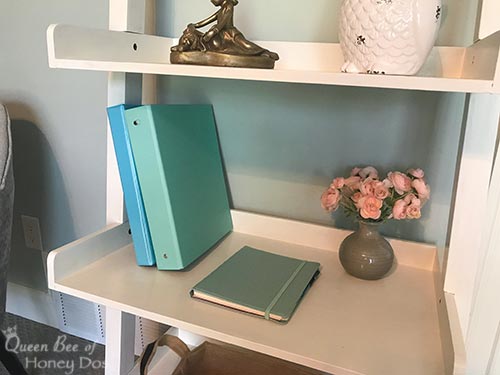
I reassembled the ladder shelf and went back over the piece with one final coat, just to catch any areas that needed another coat. After giving the whole thing 72 hrs to cure, I carefully placed my decor on the shelves. The full cure will take place in about 4-6 weeks, but I have no intentions of damaging the finish between now and then.

Final Comments…
Over the years, I have refinished more pieces of furniture than I care to count. It’s a great way to have something new without the expense of buying. It is also very rewarding to see the fruits of your labor. I hope that this inspired you to find something to refinish. If you have any questions, please feel free to post them. :-) FYI – those honeycomb shelves are coming soon!

– PIN IT –
– PIN IT –
Please keep it clean. Comments that do not follow the Comment's Policy may be removed.