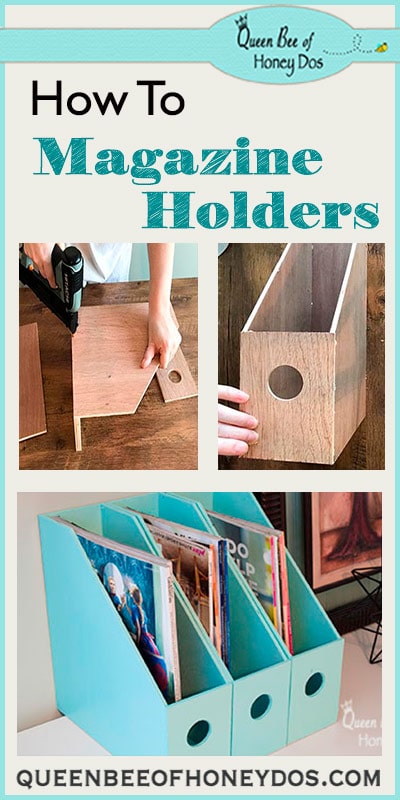
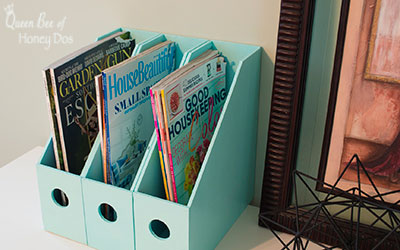
I have mentioned a few times, over the past month, that I have been working on my office/studio. I almost have everything exactly the way that I want it, except for the fact that I could use a bit more organization. I have so many magazines and binders that I need to keep, but as you know, magazines can cause a very cluttered looking design. Well, there was nothing for me to do but to get busy assembling some holders, but it makes for a good post! So, let me show you how to make magazine holders in a simple and easy fashion!
How To Make Magazine Holders…

Materials…
1/4″plywood
3/4″plywood
wood glue
nail gun (optional)
masking tape
Video Instructions…
You can watch the video to see the assembly in action, or continue reading this posts.
How To Make Magazine Holders…

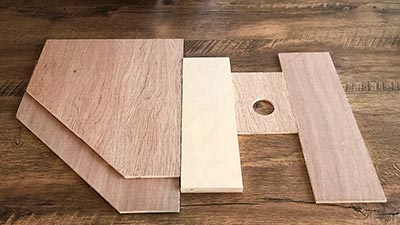
For each magazine holder, you will need to cut two sides, a front, and a back from your 1/4″plywood. From the 3/4″plywood, you will need to cut out the bottom of the holder. I use a thicker piece for the bottom, because that is where all of the weight will be applied. Trying to pick up a full holder and move it can wear out the design if the weight is not properly supported.
My magazine holders were designed to be 10″ x 12″, but if you want yours to be larger you can make adjustments to these dimensions.
- Sides – 10″ x 12″
- Back – 4″ x 12″
- Front – 4″ x 5″
- Bottom – 3 1/2″ x 10″
NOTE – You may cut one corner of the side pieces at an angle or at a curve. However, for this plan, you must leave exactly 5″ along the front edge.
You may also notice that in the video I used slightly different dimensions. That is because I was using some leftover Lauan plywood, which has an actual thickness of 3/16″ instead of a full 1/4″. I used those dimensions, because I know that it is very common for a DIYer to pick up precut Lauan plywood without realizing the difference. So, be sure to check the actual thickness of your 1/4″ plywood before making these cuts. If you are using Lauan ply, use the dimensions per the video.
Assembly:

Begin by applying a bead of wood glue along the length of the bottom piece.

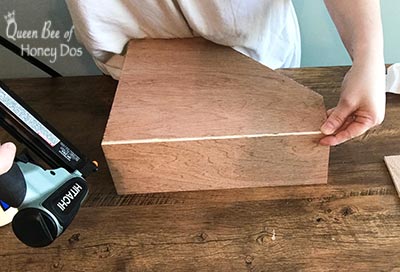
Next, attach the side pieces to the bottom using your nail gun or some masking tape. It is best to use both glue and nails along the bottom edge of the holder, but is you do not have a nail gun, you can get away with just using the glue, as long as you make sure to allow it to completely dry before adding any weight to it. (24 hrs. minimum)
In fact, there are lots of projects that you can do using just glue and masking tape. One of my favorite projects, my honeycomb shelves, can be done with just glue and tape. I also use only glue (and clamps) to create table or island tops. And my friend, Dale, recently submitted his cutting board project that was assembled with just glue.

Once the sides are in place, attach the back of the holder using glue along each edge and nails along the bottom. Again, just the tape will work if that is all that you have.

For the front, I have drilled a 25mm finger hole to allow easy access. This is optional, but can be done on either the front or the back. To attach the front, I again used the wood glue and my nail gun.

Allow the holder to dry overnight, especially if you are using just glue and masking tape to hold everything in place. Then, apply the finish of your choice.

-- PIN IT –

-- PIN IT –


Please keep it clean. Comments that do not follow the Comment's Policy may be removed.