(This post may contain affiliate links (*). That means that I make a small commission from sales that result through these links, at no additional cost to you. You can read my full disclosure here.)
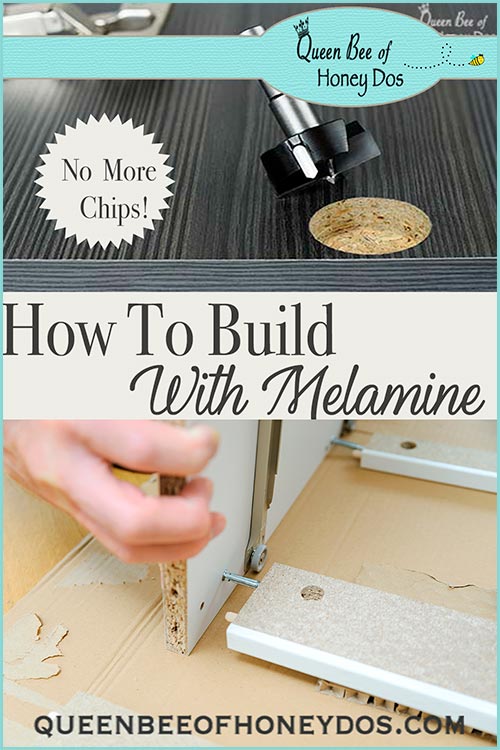
If you are not familiar with melamine, it is a resin plastic coating that is applied to chipboard. I prefer to use it for creating inexpensive DIY closet systems, but a lot of people use it for making cabinetry. After years of working with melamine, I have finally overcome most of the problems and no longer use the dreaded labels that I have heaped upon melamine in the past.
When people complain about building something out of melamine, the biggest issue is almost always trying to achieve a clean cut without getting any chipping. There is nothing more aggravating than cutting through a piece and finding that you have a completely unusable piece because it is chipped all to [fill in your favorite cuss word]. ?
How to Build With Melamine – Cutting…
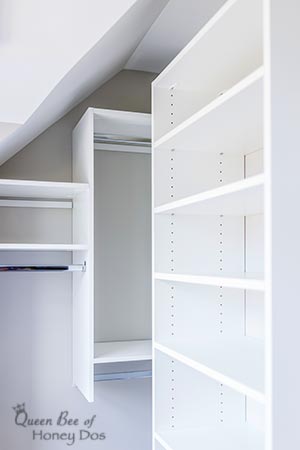
Tools:
You can solve the issue of chipping by purchasing some specialized blades. However, I should warn you that it can be cost prohibitive if you are just doing one project. If, on the other hand, you build with melamine frequently, you may want to invest in one or more of these.
I personally love the Freud Plywood and Melamine blade* for cutting both melamine and plywood. Combined with a zero clearance insert* on my table saw, I get very clean cuts. Even if you don’t use it for melamine, it works wonderfully on plywood, hardboard, and MDF.
If you do not have a zero clearance insert,* I highly recommend that you purchase one. It is the first step in eliminating tear-out on any type of material.
Technique:

Regardless of the expense, a fine tooth blade with more teeth will make a better cut in melamine. So, if you can’t afford to purchase the Freud blade above, at least make sure your blade is not dull and use one that has fine teeth.
To get that clean cut using a standard blade, first, score both sides of the melamine along the line to be cut using a sharp utility blade. This will make a big difference in the final cut. In fact, you can do this even if you have a higher end blade, just for reassurance.
Next, set your table saw to about 1/16″ high. (Make sure to use a crosscut guide if you are doing cross cuts). Run both sides of the melamine through the table saw to create a shallow cut just through the melamine. Then, create your final cut through the piece. Doing this type of score cut will prevent chips and tear outs.
Miter Saws:
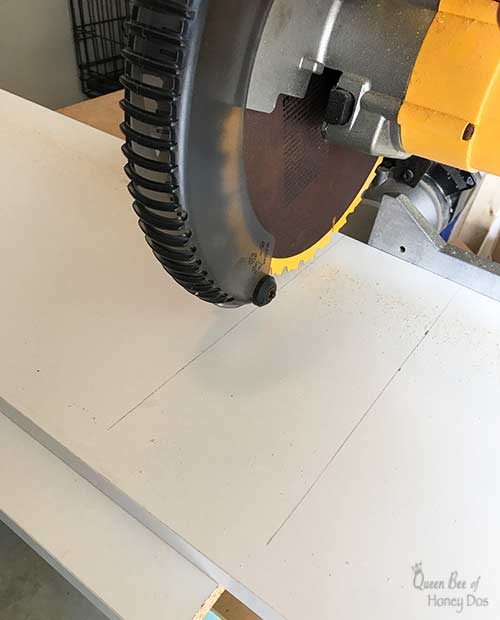
To make a cut on your miter saw, use the Freud blade. Then, score the melamine as described above. For extra protection, use a sacrificial board beneath the piece that you are cutting.
Tricks:
Some carpenters like to use painters tape or masking tape to cover the cut lines prior to making the cut. I have not really found it to be that much better with it, but hey, every little thing can help. So, I’ll let you decide how important it is to take that extra precaution.
If you do end up with a chip here or there, you can always use chip repair.* Anytime you work with melamine, it is a good idea to have some on hand because you never know when you might need it.
If all else fails, hide the bad side. In fact, if you have one side of the project piece that will be hidden, it would be a good idea to make all of your cuts along that side. When building cabinets, that would be the edge facing the front. You can always dado a groove in your face frames and wrap them around the front edge of the cabinets. This is a very common method for face framed cabinet construction.
How to Build With Melamine – Drilling…
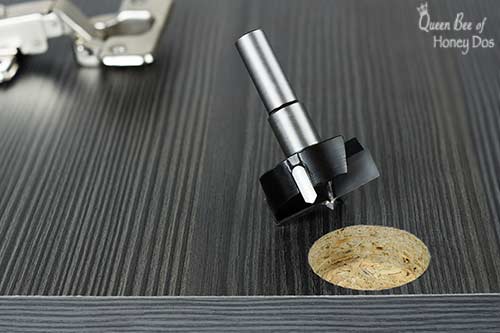
Drilling into melamine can be as big a beast as cutting, but you may as well except that you will need to make holes at some point. The trick is in how to achieve that without causing chipping. Ideally, you would want a carbide bit with a brad tip or a Forstner bit. The exact tool will depend on the type and size of the holes being created.
Creating Through Holes:
If you need to drill a hole all the way through melamine, such as you would if you needed to place a desk grommet, the tool of choice is a Forstner bit. Speaking of grommets, they are a must if you do happen to be placing holes for your cords and wires through a desktop. Otherwise, you will eventually have chipping.
Technique 1 – What I have found that works best on through holes is to first drill a small guide hole through the center of the location for the hole. Then, drill halfway through one side with the Forstner bit before switching to the other side to drill through the remaining half. This prevents tear out along the bottom side.
Technique 2 – Another technique is to clamp the melamine down to a sacrificial board and drill straight through from the top.
Technique 3 – Perfect holes require perfectly straight drilling. If you have a drill press, use it when possible. In other situations, I have found that Rockler’s drilling jig* is a godsend for getting perfectly straight holes. If you can’t yet afford a drill press, this jig is a budget-friendly alternative.
Creating Shelf Pin Holes:
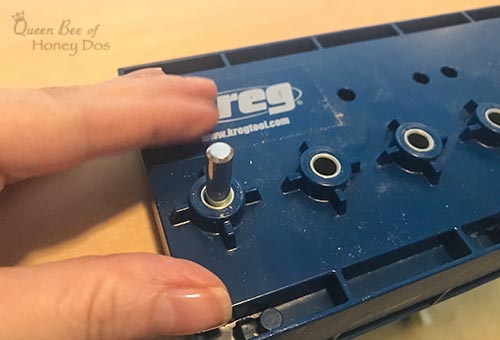
Whether you’re working on cabinets or building a melamine closet system, you will need to have adjustable shelves. By far and large, the best tool for getting pin holes for adjustable shelving is to use a pin hole jig. I always use my Kreg Shelf Pin Jig.* However, for melamine, I switch over to a 1/4″ brad tip bit and use the collar that came with the jig to set my depth.
Brad tips are much better than spiral tip bits at creating clean holes, which is why I switch bits when using my jig. The jig also is beneficial for just drilling 1/4″ holes simply because it keeps the bit straight.
You can also use a router to create shelf pin holes. However, unless you already have a router, it is a rather expensive tool to purchase just for the purpose of creating holes.
Predrilled Holes:
With melamine, you can’t just insert a screw without first predrilling, or at least you shouldn’t. If you don’t predrill your holes you can end up with splitting. What’s more, you have to do proper countersinking or you will end up with bulging melamine around the head.
To create a predrilled hole, use the appropriate sized drill bit. It is best to use a countersinking bit and the proper type of hardware (see below for hardware and more tips).
How to Build With Melamine – Jointing…
Creating joints in melamine is a bit different from joints for regular plywood. For one thing, butt end joints require some special consideration. The surface of the melamine is slick and doesn’t hold with wood glue.
You also may not be able to use a router to create precise dados. Melamine tends to vary in thickness from one supplier to the next, and even one bundle to the next. In addition, it is rarely the thickness stated. So, a 3/4″ piece of melamine is not likely to fit snug in a 3/4″ groove.
Technique 1 – To overcome this problem, you may have to combine a dado groove on the receiving piece with a rabbit joint on the giving piece. In addition, you will need to use a special melamine glue* for the adhesive.
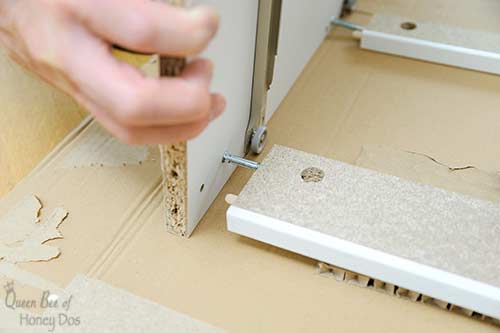
Technique – 2 Because of the difficulty with jointing melamine, the most common method to construct with melamine is to use cam fittings. This is what I use and recommend. At first, it may seem like more work, but once you get the hang of it, the benefits are totally worth the effort.
With cam fittings, you can create tight butt joints and you never have to cut or router one single groove. They are also more budget-friendly for beginners because you do not need anything other than a drill driver and some good bits to create perfect joints.
To use cam fittings you will need:
- the cam fittings*
- 1/4″ wood dowels*
- 15 mm Forstner bit*
- 11mm brad tip bit* (FYI – this hole will not show, so a twist bit can be used as well).
- 7mm drill bit*
- 1/4″ drill bit*
- melamine glue*
The way that cam fittings work is that a cam receives a metal dowel and locks down on the dowel’s head. This pulls the two pieces together. When combined with the addition of a wooden dowel and glue, the connection is solid.
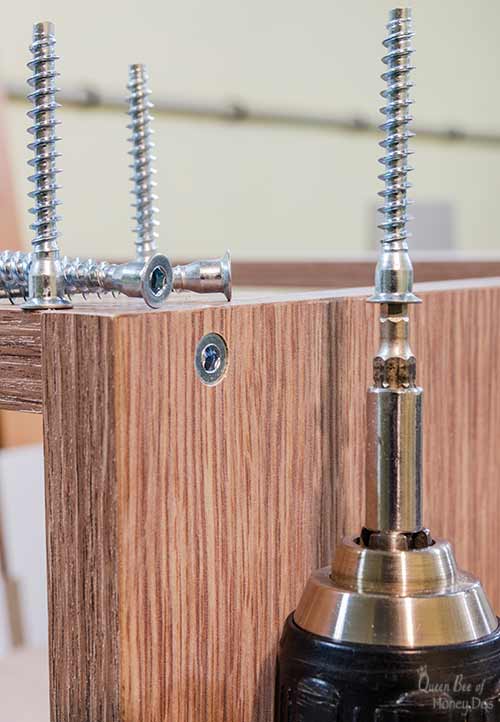
Technique 3: If cam fittings seem a bit much for your abilities, the next best thing is Confirmat screws. They are built specifically to hold soft core woods together. I recommend the 7 x 40mm screws* with a 5mm bit for 3/4″ melamine. Tip – manually screw these in to prevent damage to the screws or particle board.
You can get away with using a countersinking 5mm drill bit with these; however, they make a specialized drill bit* that will make the construction easier and neater. You can sometimes find these on Amazon, but they are not readily available at most hardware stores.
How to Build With Melamine – Finishing…
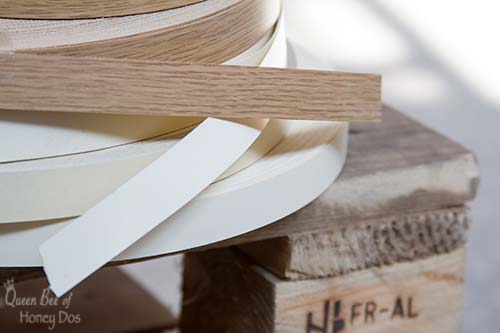
In order to get a professional finish, there are a few items that you will need to have. For all of those raw edges, you can add edge banding.* It comes with a glue that is activated by applying heat. A standard house iron will work, or you can get a sealing iron* to devote to your workshop projects. To trim the edged flush to the melamine board, use an edge band trimmer after the banding has set.
Clean up any chips that you were unable to avoid, by using some chip repair.* It comes in multiple colors for any melamine finish.
To cover all those screws that you used, pick up a pack of adhesive cover caps.* The great thing about these is that not only does it hide the screw heads, it also covers up any defects that you made when predrilling.
How to Build With Melamine – Things to Avoid…

Pocket Hole Screws:
When constructing with melamine particle boards, there are a few things that you should avoid doing. The number one mistake that some people make is trying to use pocket hole jigs. While I love my pocket hole jig* for a lot of things, melamine is not one of them.
Melamine is typically manufactured with particle board as its core. So, even though a course pocket hole screw may initially have a strong hold, it will eventually work itself loose over time. This typically is seen faster on pieces that are frequently moved around, like a desk or table. In addition, the Kreg company recommends not using their pocket hole screws with particle boards.
All that being said, some people do claim to get strong construction using them. I would only say that I have used them before in the past to test them for myself. I saw no issues with items that were not going to hold much weight or be moved about.
Most of the time, you can get away with using them on individual shelves or on short-run boards. But, I find that they work loose on shelves holding closet rods. This is especially important when the rod supports a lot of weight and movement.
I also tried it out on a desk for my son. It was wobbling and loose within the first year. I could have probably had a more lasting joint if I had used glue in the screw holes along with the screw. But, I wanted to see what would happen with just the screw. Just something to keep in mind if you decide to use pocket holes.
Skipping the Pre Drill:
As I said before, always predrill before you use any screw in particle boards. They can split if you breathe on them hard. Okay, not quite. But, you get my meaning.
Nail Guns:
Using nail guns (or nails of any sort) on melamine will not hold. The only place where you can get away with using nails is on the back of a cabinet. And then, only when you use glue with plywood or hardboard to enclose the rear. Even in that situation, it is still better to use small screws.
Wet Locations:
Because melamine has a particleboard core, it will not survive if exposed to water. As soon as the water finds a way past the melamine, the board will begin to swell. It will then lose its structural integrity. For this reason, I wouldn’t recommend it for bathrooms or sink cabinets.
Long Runs:
You should avoid long runs of unsupported melamine. The most common time that I have seen this mistake is in DIY closets. Shelves, especially those holding the support of closet rods, should have support at regular intervals. I prefer a minimum of every 36″ for 3/4″ thick melamine. For more information on closet standards, you can check out my post on closet guidelines.
Final Comments…
Now that you know all of my tips and tricks on how to build with melamine, I bet you can construct some amazing pieces! At the very least, you can use what you know to hack a piece of Ikea furniture. Either way, melamine offers the ability to get some low-cost solutions.

– PIN IT –

– PIN IT –


Kukumalu says
I would disagree that melamine creates a lower quality cabinet than other materials. Especialy for cabinets and alike. If the piece of furniture is constructed properly it is far superior to wood. And it looks better. Except for americans, they seem to prefer old medieval/grandparent style cabinets.
Kristin says
Are 7x50mm confirmat screws too long? Having a hard time finding 7×40. Thanks’
Rachel Lynn says
Kristin, As long as you are joining face to edge, the additional length won’t matter.