How many times have you wished for a mud bench area in your garage (or house) to help keep all your outdoor things organized? I finally got around to adding one to my own garage, and I must say that this has got to be the easiest, DIY mud bench slatwall system!
(This post may contain affiliate links (*). That means that I make a small commission from sales that result through these links, at no additional cost to you. You can read my full disclosure here.)
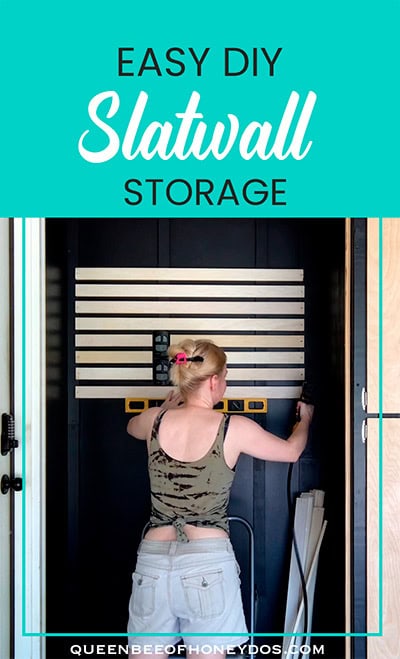
A few months ago, I began the long process of making over my garage. I need it to be a multi-purpose area with storage for tools, decor, and other stuff. I also need it to serve as my woodworking workshop and provide a place to park my vehicle.
In addition, I use this space to do most of my Youtube videos. So, an aesthetically pleasing backdrop with good lighting must be worked into the mix. That’s quite a bit of requirements to fit into one space, but I am determined to do it.
I fell in love with the slatwall system after I built my french cleat slatwall for my craft room. That one was perfect for making custom pieces to hold all of my sewing and crafting supplies. But, I wanted this little space to be a quick and easy build that anyone can do.
After all, it is going to pretty much be a wet and sloppy zone. I didn’t want to go to any more trouble than was necessary. But, I did want it to look nice and be structurally strong enough to handle rough treatment.
Previously…
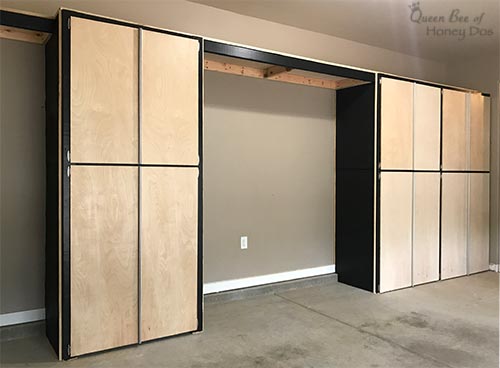
So far, I have built storage shelves (part 1) and then enclosed those into cabinets (part 2). Along the way, I have planned out where everything is going and what my next moves will be.
I also have moved things around a dozen times. Each time I start a new phase, I end up having to haul everything to a new temporary location. Then, reorganize it all again once that phase is finished. […sigh]
As I set out to complete the third part of my garage makeover, I contemplated how I wanted to do the mud bench area. I knew that I wanted this space to be the place where all of the outdoor gear is stored.
I also wanted to make it usable for storing all of the wet gear, such as wet mittens, wet umbrellas, and wet or muddy shoes. So, I decided on this easy DIY mud bench slatwall system combo.
DIY Mud Bench SlatWall – Materials Needed…
- 1/2″ x 2″ slats cut to length
- 1/2″ x 1″ backing strips cut to length
- 2″ wood screws
- brad nailer (wood screws or finishing nails can be substituted)
- 2″ x .250 S-Hooks
- paint and/or sealer of choice
Easy DIY Mud Bench SlatWall…
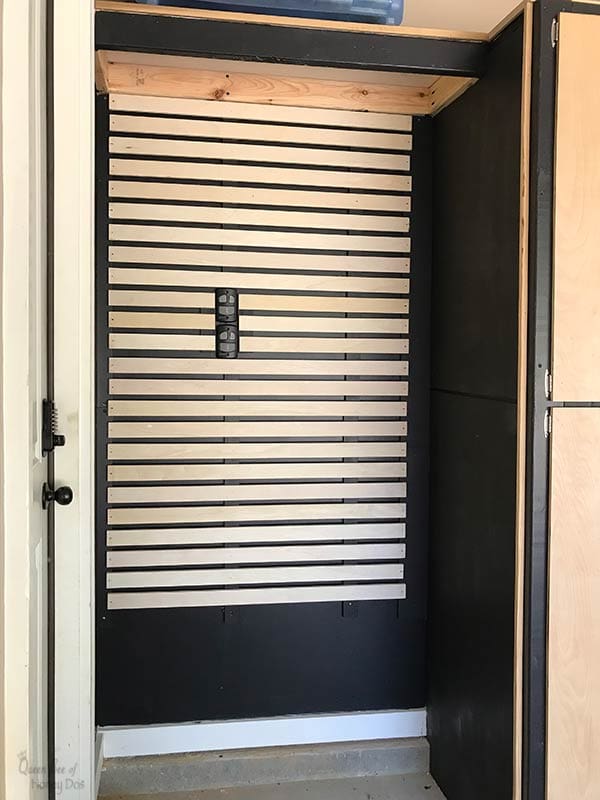
If you recall from part 2, I mentioned that I was going to have some sort of a mud bench area next to the doorway. Slatwalls look so sleek, and they fit perfectly with the contemporary vibe that I have going in my garage thus far.
Plus, I have all the leftover bed slats from the time that I built my son a platform bed. Since I try to recycle any old wood products, I saved the parts from his two twin beds hoping that I would find a use for them. As luck would have it, the slats were almost the exact length of the space that I had reserved for this project.
So, this is what I did…
(Feel free to watch the video above, but I recommend that you read through the text version below to catch make sure that you catch all the details. You can find all of my other videos on my Youtube channel. Please be sure to subscribe!) ?
I first did away with the strapping that was on the bed slats. This allowed me to space them individually along the wall, and to make slight adjustments to maneuver around obstacles – like my garage door buttons. Then, I was ready to begin.
Step 1:
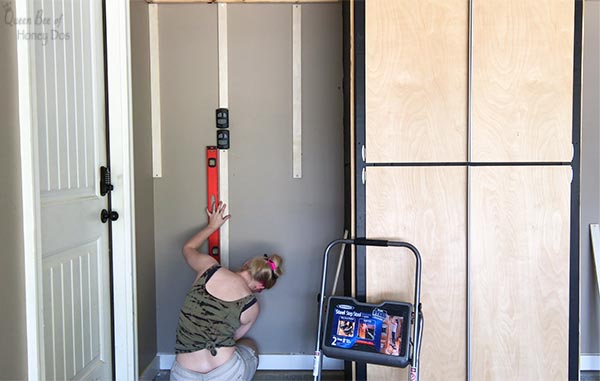
For a slatwall storage to work properly, it needs to have a void space behind the slats to allow for attachments (hooks and hangers) to slide in place. The space must be consistent across the entire system. And, the ratio of space to hook size must be precise or else the hooks will either not fit or they will be too loose. A perfect balance must be struck.
To achieve this, I attached 1/2″ backing strips with 2″ wood screws to the stud locations and around my garage door openers. This will provide the perfect amount of spacing for the hooks that I purchased. With this depth, I will also be able to build some of my own hangers for specialty items.
The wood screws that I used are self-sinking and do not require predrilling. These are what I recommend, but if you decide to use a different variety, you will need to predrill and possibly countersink the holes.
Step 2
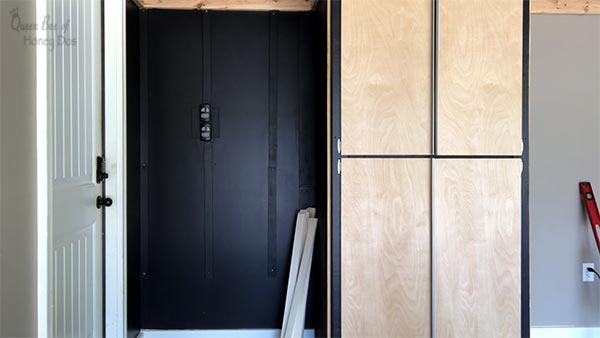
Next, I painted the wall and the spacers. I chose to use the same black paint color that I used on my garage cabinets. I love the way the black plays off of the natural finish of the wood. It looks sleek and contemporary, and it allows the background to fade while the slats stand out.
In addition, these colors combined with clean lines make for a super easy space to clean. This is a big plus for a space that can get as dirty as a garage/workshop. Something to keep in mind if you are planning to redo your garage space.
Oh, and I suppose you may be wanting to know the precise colors and materials being used here. The black paint is Sherwin William’s Black Magic in a satin finish. The natural wood being used is birch, and I am sealing everything with a satin, water-based polyacrylic.* The one that I am using is very fast drying and provides plenty of protection for this area.
Step 3
Before attaching the slats to the wall, I sealed them with the polyacrylic mentioned above. It is much easier to add the finish to these before installing them. Plus, it allows the backsides to be completely protected.
Step 4
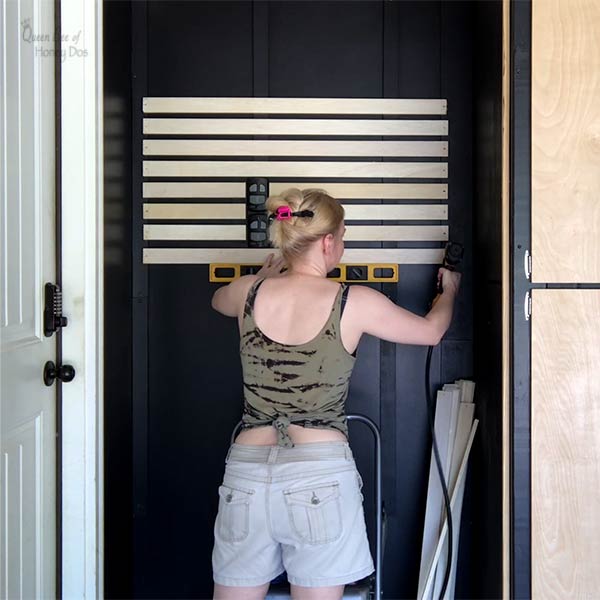
Once the sealer is completely dry, the fun part begins. I started attaching the slats to the wall at 3/4″ apart. Using a 3/4″ scrap piece of wood made it easy to get perfect spacing.
I began around the garage door openers first. Then, worked my way up and down from there. That way, I could finish the odd cuts first, and it would allow me to make any slight adjustments to the spacing on my chosen sacrificial slat.
What I mean by that is that the area between the top of the door openers and the bottom of the door openers will not be exactly perfect for me to have each slat be 3/4″ apart. So, when I reached that bottom section, I had to place it slightly further than 3/4″ from the preceding slat. This one will still hold hooks, but it will not be an ideal spot for much else.
Now, I could have notched out that last slat beneath the door openers to make it correct. However, the variation was so slight that I didn’t think it was worth the extra effort.
DIY Mud Bench SlatWall – Hooks
You can use any hooks that you want for these as long as they have a 1/2″ gap. I used 1/2″ x .250 hooks that I picked up from my local hardware store. You can even make your own wooden hangers quite easily for these. I will be adding examples of that once I get around to making my own sets.
Final Comments…
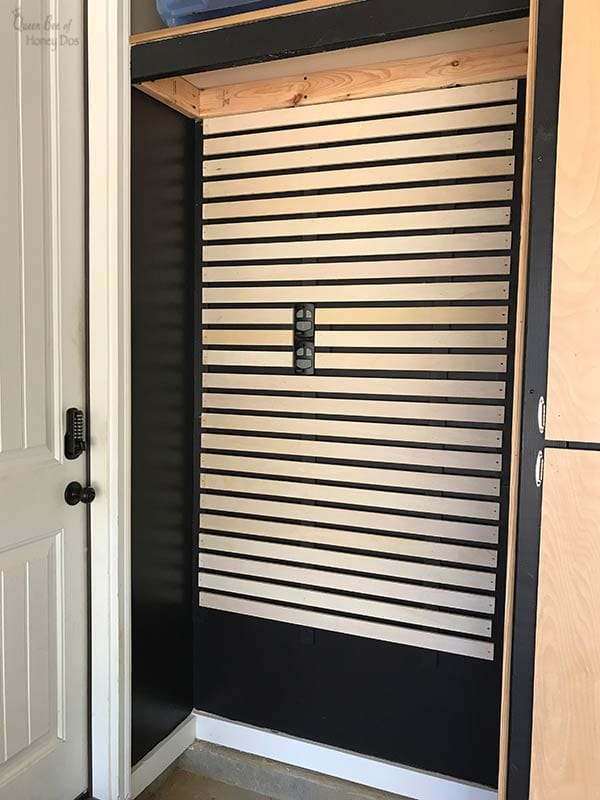
This type of DIY slatwall is great for getting a fast and functional wall that looks amazing. You can embellish and customize this a much or as little as you want. I will be adding a shoe storage bench beneath mine. So, be sure to check back for the continuation of my garage makeover.
If you missed the last two parts for the garage shelves and the cabinet enclosures, you may want to check those out. Coming up in the future, you will be able to find the shoe bench, overhead lighting for the workbench, tool storage, and of course, the workbench with tons of storage. Check back!


Please keep it clean. Comments that do not follow the Comment's Policy may be removed.